
How to Expand a RAID or ZFS Array: Adding Drives Without Data Loss
 10 min read
1,986 words
10 min read
1,986 words
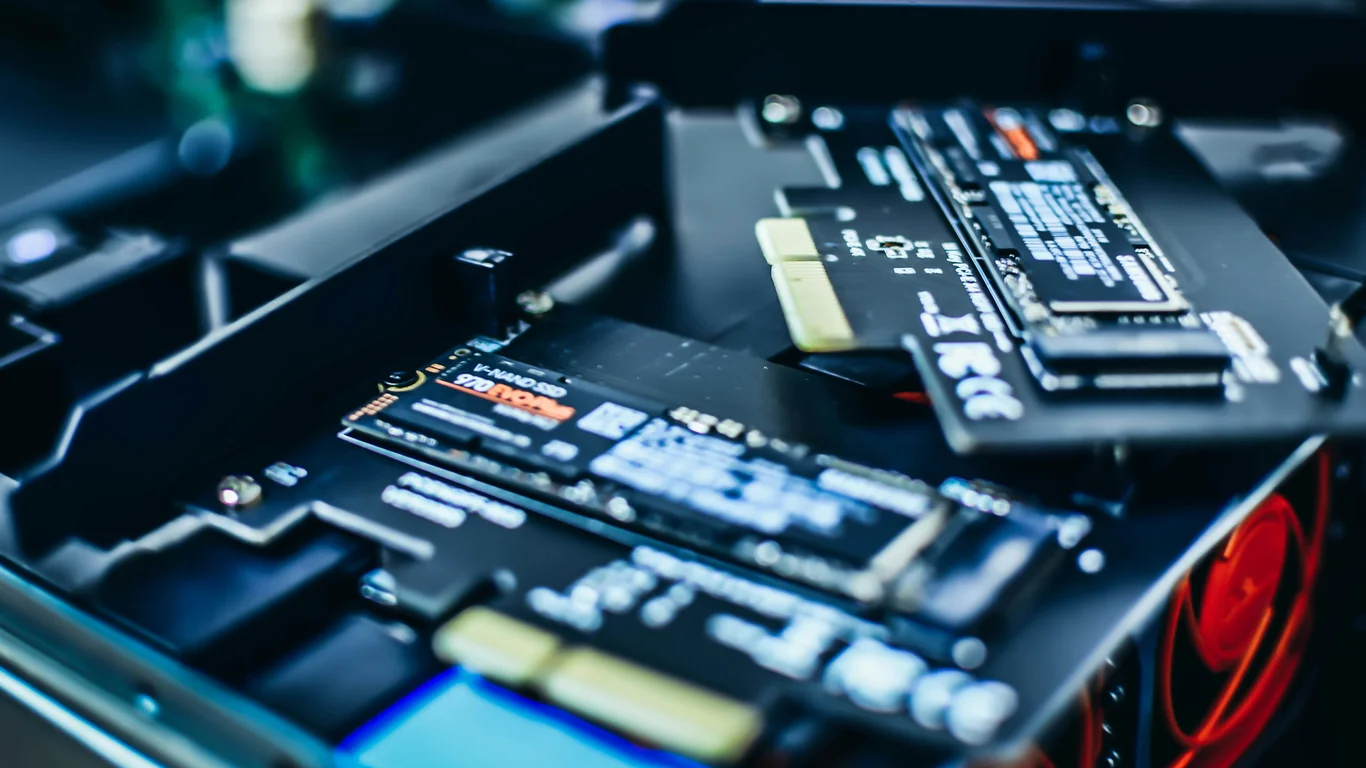
If you’re running out of space on your NAS and wondering whether you can simply add a new drive to your existing RAID array without wiping everything and starting over, the short answer is: yes, but only if your RAID controller or NAS operating system explicitly supports Online Capacity Expansion (OCE). This guide walks you through the exact process for expanding a traditional RAID array (RAID 5, RAID 6) and explains why ZFS pools work differently. We’ll cover the critical backup step you must take first, realistic time expectations, and the vulnerable window during a rebuild when your data is at its most exposed.
Does Your RAID Controller or NAS OS Support Online Capacity Expansion?
Before you insert a single drive, confirm that your hardware or software supports expanding an existing array without data loss. This feature is often called Online Capacity Expansion (OCE) or RAID Level Migration.
Attempting to expand a RAID array on unsupported hardware can corrupt your data. Always check the manufacturer’s documentation for your specific controller or NAS OS version.
| RAID Implementation | Supports OCE? | Notes |
|---|---|---|
| Hardware RAID controllers (LSI, Broadcom, Adaptec) | Yes (most modern models) | Requires controller firmware support; usually allows adding drives to RAID 5/6 arrays |
| mdadm (Linux software RAID) | Yes | Fully supports growing RAID 5/6 arrays with mdadm --grow |
| Unraid (proprietary) | Yes | Adds drives as independent devices; no traditional RAID reshape |
| TrueNAS / ZFS | No (for RAIDZ) | You must add a new vdev (mirror or RAIDZ), not expand an existing RAIDZ vdev |
| Synology DSM (SHR) | Yes | Synology Hybrid RAID supports adding drives to expand capacity |
| QNAP QTS | Yes | Supports RAID expansion via Storage Manager |
If you are using a hardware RAID controller, ensure its firmware is up to date before attempting any expansion. Outdated firmware is one of the most common causes of failed RAID expansions in homelab setups. The process can take days, and a firmware bug mid-reshape can be catastrophic.
Full Backup and Integrity Check: A Non-Negotiable First Step
RAID expansion is a high-risk operation. A power failure, drive failure, or firmware glitch during the reshape can destroy your entire array. RAID is not backup — it protects against a single drive failure, not against accidental deletion, ransomware, or a botched expansion.
- Create a full backup of all data on the array to an external drive or another NAS.
- Perform a file system integrity check (e.g.,
fsckon ext4,scrubon ZFS). - Verify the backup is restorable — do not skip this step.
- Document your current RAID configuration (drive order, stripe size, filesystem type).
If you cannot back up all data, at least back up irreplaceable files (family photos, documents, configuration files). A 4TB external drive costs $80-$120 and is cheap insurance against a week-long recovery nightmare.
General Expansion Process: Install Drive, Trigger Rebuild, Extend Filesystem
Assuming your system supports OCE, the basic workflow is the same across most platforms.
Connect the new drive to the same controller or backplane. For hardware RAID, ensure the drive is recognized by the controller before proceeding.
In your RAID management interface (e.g., StorCLI, mdadm, DSM Storage Manager), select the array and choose “Expand” or “Add Drive.” The controller will begin reshaping the array — this is not instant.
The controller redistributes data across all drives, including the new one. The array remains online during this process, but performance will be degraded — expect 50-80% slower read/write speeds.
After the reshape completes, you must expand the filesystem to use the new space. On Linux, this is resize2fs /dev/md0 for ext4 or xfs_growfs /mountpoint for XFS. On NAS OSes like Unraid or Synology, this happens automatically.
For mdadm users, the command to grow a RAID 5 array from 3 to 4 drives is: mdadm --add /dev/md0 /dev/sdd1 && mdadm --grow /dev/md0 --raid-devices=4. The reshape will start immediately and run in the background.
Why ZFS Pools Work Differently: Adding vdevs vs. Expanding RAIDZ
ZFS is the most common filesystem in homelab NAS builds, especially with TrueNAS. It handles expansion differently than traditional RAID. You cannot add a single drive to an existing RAIDZ vdev to increase its capacity. Instead, you must add an entire new vdev (a group of drives) to the pool.
Traditional RAID Expansion
- Add one or more drives to an existing array
- Array reshapes to include new drives
- Capacity increases immediately after reshape
- Works with RAID 5, RAID 6, RAID 10
ZFS Pool Expansion
- Add a complete new vdev (mirror or RAIDZ) to the pool
- Data is striped across all vdevs; no reshape occurs
- Capacity increases only after the new vdev is added
- Requires at least 2 drives for a mirror vdev, or 3+ for RAIDZ
For example, if you have a 3-drive RAIDZ1 vdev (3x 4TB drives = ~8TB usable) and want more space, you cannot add a single 4TB drive to that vdev. Instead, you add a second 3-drive RAIDZ1 vdev, giving you ~16TB total. The pool stripes data across both vdevs. This means you lose the capacity of one drive per vdev to parity — so adding a second 3-drive vdev costs you 4TB of parity space.
If you are building a ZFS pool today and anticipate future expansion, consider using mirrors instead of RAIDZ. You can add a single 2-drive mirror vdev at a time, which gives you more granular expansion and better IOPS. The trade-off is lower storage efficiency: a pool of 4 drives in mirrors gives 50% usable capacity, while a 4-drive RAIDZ2 gives 50% as well — but RAIDZ2 tolerates any 2 drive failures, while a mirrored pool can survive only one failure per mirror pair.
For a deeper comparison of RAID levels, see our guide on RAID 1 vs RAID 5: Which Gives You More Usable Storage?.
Realistic Time Expectations and the Vulnerable Window During Reshape
RAID expansion is not fast. The reshape process reads and rewrites every byte on every drive in the array, which can take hours or days depending on drive size and interface speed.
| Array Size | Drive Type | Estimated Reshape Time | Performance During Reshape |
|---|---|---|---|
| 3 x 4TB (RAID 5) | HDD (SATA) | 12-24 hours | Heavily degraded, ~30% normal speed |
| 4 x 8TB (RAID 5) | HDD (SATA) | 24-48 hours | Heavily degraded, ~20% normal speed |
| 6 x 12TB (RAID 6) | HDD (SATA) | 48-96 hours | Very heavily degraded, ~10% normal speed |
| 4 x 2TB (RAID 5) | SSD (SATA) | 2-4 hours | Moderate degradation |
During the reshape, every drive in the array is under maximum stress. If a second drive fails during this window, you will lose all data on the array. This is the most vulnerable period in the life of a RAID array. Ensure your drives are healthy and your UPS is functioning before starting.
To minimize risk, follow these guidelines:
- Run a full S.M.A.R.T. long test on all existing drives before starting.
- Ensure your UPS has enough runtime to cover the entire reshape (at least 30 minutes for small arrays, 2+ hours for large ones).
- Do not run any other disk-intensive tasks during the reshape.
- Monitor the reshape progress regularly (e.g.,
cat /proc/mdstaton Linux).
Power consumption during a reshape is also higher than idle. Expect each HDD to draw 6-10W under continuous load, plus the CPU/controller overhead. For a 4-drive array running for 48 hours, that’s roughly 1.5-2 kWh of extra electricity — about $0.20-$0.40 depending on your rates. For more on managing power, see How to Reduce Your NAS’s Power Consumption (Without Losing Performance).
Which Expansion Method Should You Choose?
Your choice depends on your current setup and future growth plans.
- If you run mdadm or a hardware RAID controller and have RAID 5 or RAID 6, you can add single drives to expand capacity. This is the most cost-effective method for small expansions (1-2 drives).
- If you run TrueNAS or any ZFS-based system, plan your vdev layout from the start. Adding a new vdev of the same type (mirror or RAIDZ) is the only supported expansion path. Consider starting with mirrors if you expect to grow incrementally.
- If you run Unraid, expansion is trivial — just add a new drive to the array and it becomes part of the storage pool immediately, with no reshape required.
- If you run Synology or QNAP, use their native expansion tools. Both support adding drives to existing SHR or RAID groups.
Bottom Line: Plan Ahead or Risk a Long Reshape
Expanding a RAID array is possible without data loss, but it is a slow, high-risk operation that requires careful preparation. The safest path is to always back up before starting, confirm your controller or OS supports OCE, and understand that ZFS does not allow single-drive expansion of RAIDZ vdevs. If you are building a new NAS today, consider whether you will need to expand in the future — starting with mirrors in ZFS or using Unraid can save you days of reshape time later. For CPU recommendations that handle ZFS expansion well, check our guide on the Best CPU for TrueNAS in 2026.
Frequently Asked Questions
Can I add a drive to my existing RAID array without losing data?
Yes, if your RAID controller or NAS operating system supports Online Capacity Expansion (OCE). Most modern hardware RAID controllers (LSI, Broadcom) and software RAID solutions like mdadm support this. However, you must first verify compatibility, back up all data, and perform a file system integrity check. The process involves physically installing the new drive, initiating the expansion, waiting for the reshape to complete, and then extending the filesystem. Failure to back up before starting puts your data at serious risk if a drive fails during the reshape.
Does TrueNAS let me expand a RAIDZ vdev like traditional RAID?
No, TrueNAS and ZFS do not support adding a single drive to an existing RAIDZ vdev to increase its capacity. Instead, you must add an entire new vdev (a group of drives) to the pool. For example, if you have a 3-drive RAIDZ1 vdev, you need to add another 3-drive RAIDZ1 vdev to expand capacity. The pool then stripes data across both vdevs. This is a fundamental difference from traditional RAID and is a key consideration when planning a ZFS-based NAS. For a comparison of TrueNAS and other NAS OSes, see our guide on TrueNAS vs Unraid: Which Should You Run in 2026?.
How long does a RAID expansion take?
The time depends on the number of drives, their capacity, and the interface speed. A small 3-drive RAID 5 array with 4TB HDDs typically takes 12-24 hours for the reshape. A larger 6-drive RAID 6 array with 12TB HDDs can take 48-96 hours. SSDs are much faster, with a 4-drive RAID 5 array of 2TB SSDs completing in 2-4 hours. During the reshape, the array remains online but performance is heavily degraded — expect 10-30% of normal speed. Always plan for worst-case time and ensure your UPS can cover the entire operation.
What happens if a drive fails during expansion?
If a drive fails during the reshape of a RAID 5 or RAIDZ1 array, the array becomes degraded and may become unreadable if a second failure occurs. The reshape process puts maximum stress on all drives, making this the most vulnerable period for your data. If you lose a drive during expansion, stop the reshape immediately (if possible), replace the failed drive, and initiate a rebuild. If a second drive fails, you will lose all data on the array. This is why a full backup before starting is non-negotiable. RAID 6 and RAIDZ2 tolerate two drive failures, providing better protection during expansion, but they are slower and less space-efficient.
Last verified: July 09, 2026. Specifications cross-checked against manufacturer documentation where available.
🛡 Shop Recommended Hardware
Prices and stock verified regularly by our affiliate partners. As an affiliate, HomeLabCost may earn a commission on qualifying purchases at no extra cost to you.
Browse Hardware Picks →
homelabcost
HomeLabCost editor covering NAS builds, hardware selection, and homelab server setup guides.