
ZFS Replication Between Two TrueNAS Servers: A Step-by-Step Setup Guide
 12 min read
2,357 words
12 min read
2,357 words
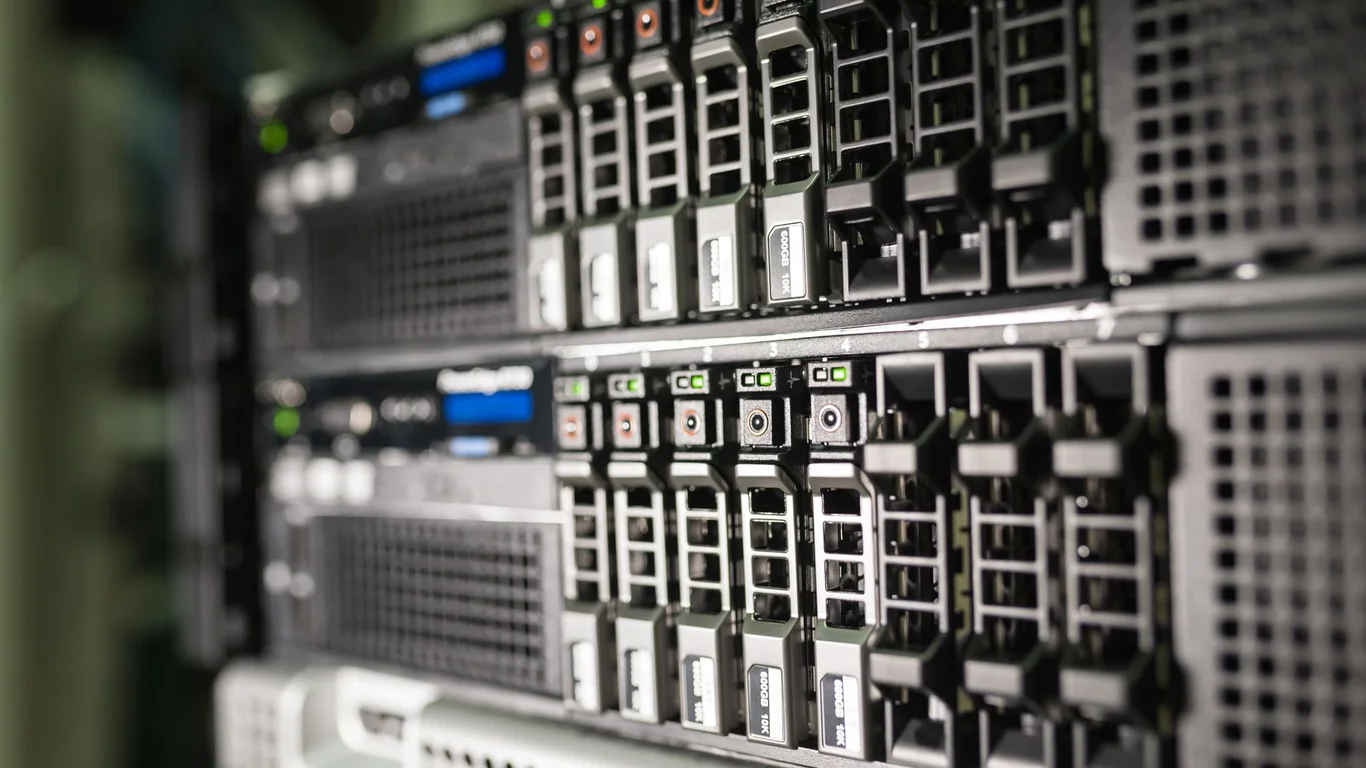
Setting up ZFS replication between two TrueNAS servers is the most reliable way to keep a secondary copy of your data without relying on slow file copies or third-party tools. This guide walks you through the entire process — SSH key exchange, snapshot tasks, and replication configuration — so you can have a working offsite or secondary backup running in under an hour. This guide breaks down zfs replication truenas in practical terms.
Why ZFS Replication Beats Plain File Copies for TrueNAS-to-TrueNAS Backup
ZFS replication works by sending only the changed blocks between snapshots, not entire files. A 100GB file that changes by 200MB will transfer just those 200MB on the next replication cycle. A traditional file copy tool like rsync has to scan every file, compare timestamps, and transfer the whole changed file. ZFS replication also preserves all snapshots, permissions, and metadata exactly as they exist on the source.
For a homelab with a second TrueNAS box, this means your replication window shrinks dramatically. A nightly replication that takes 45 minutes with rsync might finish in 8 minutes with ZFS incremental replication. The trade-off is that both systems must be TrueNAS — ZFS replication is not compatible with ext4, NTFS, or Btrfs targets.
ZFS replication does not protect against accidental file deletion or ransomware. If a file is deleted on the source, the next replication will delete it on the destination too. Always keep a separate backup strategy (e.g., a third copy on cold storage) for true data protection.
Prerequisites: What You Need Before Starting ZFS Replication
You need two TrueNAS servers — both running TrueNAS CORE (FreeBSD-based) or TrueNAS SCALE (Linux-based). Mixing CORE and SCALE as source/destination works, but some advanced ZFS features (like encryption at rest) may not replicate perfectly. Both servers must be on the same network or reachable over a VPN if replicating offsite.
- Two TrueNAS servers with static IP addresses or persistent hostnames
- A dataset or zvol on the source that you want to replicate
- A dataset or zvol on the destination to receive the replicated data
- SSH access enabled on both systems (Services > SSH)
- Sufficient storage on the destination — it needs at least as much capacity as the source dataset
Step 1: SSH Key Exchange Between TrueNAS Servers
This is the step that trips up most first-timers. TrueNAS replication uses SSH to authenticate between the two machines. You cannot use a password — you must generate an SSH key pair on the source server and copy the public key to the destination server.
Go to Services on each TrueNAS box, find SSH, and toggle it on. Click the pencil icon to enable “Login as Root with Password” — this is required for the key exchange step, but you can disable it afterward.
SSH into the source TrueNAS box as root. Run ssh-keygen -t ed25519 -f ~/.ssh/id_ed25519 -N "". This creates a key pair with no passphrase — the replication tasks need non-interactive access.
Run ssh-copy-id root@192.168.1.X (replace with your destination IP). Enter the destination root password when prompted. This appends the source public key to the destination’s ~/.ssh/authorized_keys file.
From the source, run ssh root@192.168.1.X "hostname". If it returns the destination hostname without asking for a password, the SSH key exchange is working.
Do not use a passphrase on the SSH key. TrueNAS replication tasks run as scheduled jobs and cannot interactively supply a passphrase. If security is a concern, restrict the source IP in the destination’s ~/.ssh/authorized_keys file using from="192.168.1.Y" at the start of the key line.
Step 2: Create a Periodic Snapshot Task on the Source
ZFS replication sends snapshots, not live data. You must configure a periodic snapshot task on the source dataset before you can set up the replication task. The snapshot task defines how often snapshots are taken and how long they are kept.
In the TrueNAS web UI on the source server, go to Tasks > Periodic Snapshot Tasks and click Add. Select the dataset you want to replicate. Set the snapshot frequency — “Daily” at 2:00 AM is typical for homelabs. Set a lifetime that gives you enough recovery windows (e.g., “2 weeks” means you can roll back to any snapshot from the past 14 days).
After saving, the first snapshot will be taken at the next scheduled time. You can also click the “Run Now” button on the task list to trigger an immediate snapshot for testing.
Snapshot names follow the format autosnap_2025-09-15_02:00:00. Do not rename or manually delete these if you have active replication tasks — the replication engine tracks which snapshots have already been sent by name. Deleting a snapshot that a replication task expects will cause the next replication to fail until you reset the task.
Step 3: Configure the ZFS Replication Task
Now you create the replication task that tells the source server to send snapshots to the destination. Go to Tasks > Replication Tasks on the source server and click Add.
Select “Push” as the direction — this means the source pushes data to the destination. For the transport, choose “SSH” and select the SSH connection you configured in Step 1. If you haven’t created an SSH connection in TrueNAS yet, click “Create New” and enter the destination IP, port (22), and username (root).
Under “Source”, select the dataset you set up for snapshots. Under “Destination”, select the dataset on the remote TrueNAS that will receive the replicated data. You can also choose to let TrueNAS automatically create the destination dataset if it doesn’t exist.
Check the box for “Synchronize Destination Snapshots” — this ensures that if a snapshot is deleted on the source, it is also deleted on the destination during the next replication. Without this, old snapshots accumulate on the destination indefinitely.
For the schedule, you have two options. “On Demand” means you trigger replication manually or via a script. “Schedule” lets you pick a recurring time — set it to run shortly after your snapshot task (e.g., snapshot at 2:00 AM, replicate at 3:00 AM).
TrueNAS SCALE also supports “Pull” replication where the destination server initiates the connection and pulls snapshots from the source. This is useful if the source is behind a firewall that cannot initiate outbound SSH connections. The setup steps are identical except you configure the task on the destination server.
Step 4: Run the First Full Replication
The first replication is always a full send — every block of data in the dataset is transferred over the network. Depending on your dataset size and network speed, this could take anywhere from 20 minutes (500GB on gigabit) to several days (10TB over a slow internet connection).
Start the replication by clicking the “Run Now” button on the replication task list. Monitor progress in the Tasks > Replication Tasks screen — you will see a status of “Running” with a progress percentage. You can also watch the task log by clicking the task and selecting “View Log”.
Do not interrupt the first replication. If it fails partway through (due to a network drop or power loss), you will need to delete the partially transferred data on the destination and start over. TrueNAS does not resume partial replications.
Step 5: Verify Replication Completed and Data Is Restorable
A replication task that shows “Success” in the TrueNAS UI does not guarantee the data is usable. You must verify that the destination dataset contains the expected snapshots and that you can mount or access the data.
On the destination TrueNAS, go to Storage > Pools, find the destination dataset, and click the “Snapshots” button. You should see the same snapshots that exist on the source. The snapshot names will match exactly.
To confirm the data is restorable, you can clone a snapshot on the destination. Go to the snapshot list, click the three-dot menu on a snapshot, and select “Clone to Dataset”. This creates a writable copy of the data as it existed at that snapshot time. Mount that clone via SMB or NFS and open a few files to confirm they open correctly.
For a more rigorous test, restore the clone to a separate temporary dataset on the source server. This simulates a real disaster recovery scenario and proves the replication chain works end-to-end.
Set up a monthly “restore drill” where you clone the most recent snapshot on the destination and verify file integrity. This catches silent corruption or misconfigured replication before you need it in an emergency.
Local vs. Offsite Replication: Bandwidth and VPN Considerations
Replicating over a local network (same LAN) is straightforward — gigabit Ethernet or faster gives you 100+ MB/s throughput with minimal latency. Offsite replication over the internet introduces two challenges: bandwidth and security.
For bandwidth, your source server’s upload speed is the bottleneck. If you have 20 Mbps upload, you can transfer roughly 8 GB per hour. A 2 TB dataset would take about 10 days for the first full replication. After that, incremental replications are much smaller — typically 1-5% of the dataset size per day, depending on how much data changes.
For security, never expose TrueNAS SSH directly to the internet. Use a VPN (WireGuard or OpenVPN) between the two sites. Set up a WireGuard tunnel on both TrueNAS servers or on a router/firewall at each location. Then configure the replication task to use the VPN IP addresses instead of the public WAN IPs.
Local Replication
- 100-110 MB/s on gigabit
- No bandwidth caps or data caps
- Simple SSH setup, no VPN needed
- Low latency (sub-1ms)
Offsite Replication
- Limited by residential upload speed
- VPN required for security
- Higher latency (10-50ms typical)
- First full replication takes days to weeks
Monitoring and Troubleshooting Common Replication Failures
Even with correct setup, replication tasks can fail. The most common causes are network interruptions, SSH key expiration, and disk space exhaustion on the destination. TrueNAS logs all replication attempts in Tasks > Replication Tasks — click the failed task and select “View Log” to see the exact error message.
If you see “SSH connection refused”, check that the SSH service is running on the destination and that the IP address is correct. If you see “Permission denied (publickey)”, the SSH key exchange failed or the key was removed from the destination’s authorized_keys file.
If the destination pool runs out of space, the replication will fail with a “No space left on device” error. Monitor pool usage on both servers and add storage before you hit the limit. ZFS does not automatically delete old snapshots to make room — you must manage snapshot retention policies on both sides.
Bottom Line: ZFS Replication Is the Gold Standard for TrueNAS-to-TrueNAS Backup
ZFS replication gives you block-level incremental backups that are faster and more reliable than any file-based copy method. The setup requires a one-time SSH key exchange and a few clicks in the TrueNAS web UI, but the payoff is automatic, efficient data protection that runs without manual intervention.
For a homelab with two TrueNAS servers, this is the only backup method you should consider. Pair it with a separate offline backup (e.g., a USB drive rotated weekly) to cover the ransomware and accidental deletion scenarios that replication alone cannot protect against. RAID is not a backup; replication alone also does not replace a separate backup strategy. If you are building a second TrueNAS box specifically for replication, read our Best Docker Server Build 2026 guide for hardware recommendations that balance power efficiency with storage capacity.
Frequently Asked Questions
Do I need SSH access set up before I can replicate between two TrueNAS boxes?
Yes, SSH key-based authentication is mandatory for ZFS replication in TrueNAS. Password-based login is not supported for replication tasks. You must generate an SSH key pair on the source server and copy the public key to the destination server’s authorized_keys file. The SSH service must also be enabled on both servers. After setting up the keys, test the connection by SSHing from source to destination without a password prompt.
Is ZFS replication faster than just copying files over the network?
Yes, ZFS replication is significantly faster for ongoing backups because it transfers only the changed blocks between snapshots. A file copy tool like rsync must scan every file, compare timestamps, and transfer entire changed files. ZFS replication sends only the modified 128KB blocks. For the first full replication, both methods transfer the same amount of data, but subsequent incremental replications are typically 10-50x faster with ZFS replication.
Can I replicate between a local TrueNAS and one at another physical location?
Yes, you can replicate over the internet to an offsite TrueNAS server. You must set up a VPN tunnel (WireGuard or OpenVPN) between the two locations — never expose TrueNAS SSH directly to the internet. The first full replication will be limited by your residential upload speed, which is typically 10-50 Mbps. After that, incremental replications are much faster since only changed data transfers. Expect a 2 TB dataset to take 5-10 days for the first replication on a 20 Mbps upload connection.
How do I verify my replicated data is actually complete and usable?
The best verification method is to clone a snapshot on the destination server and mount it via SMB or NFS. Open several files from the clone to confirm they open correctly. You can also perform a restore drill by cloning the snapshot on the destination and then copying that clone back to the source server. This simulates a real disaster recovery scenario. Do not rely solely on the “Success” status in the TrueNAS UI — a task can complete without errors but still have data corruption if the underlying storage had issues.
Last verified: July 10, 2026. Specifications cross-checked against TrueNAS documentation and manufacturer documentation where available.
🛡 Shop Recommended Hardware
Prices and stock verified regularly by our affiliate partners. As an affiliate, HomeLabCost may earn a commission on qualifying purchases at no extra cost to you.
Browse Hardware Picks →
homelabcost
HomeLabCost editor covering NAS builds, hardware selection, and homelab server setup guides.