
Building a Homelab Rack: Layout, Noise & Cable Management Guide
 9 min read
1,732 words
9 min read
1,732 words
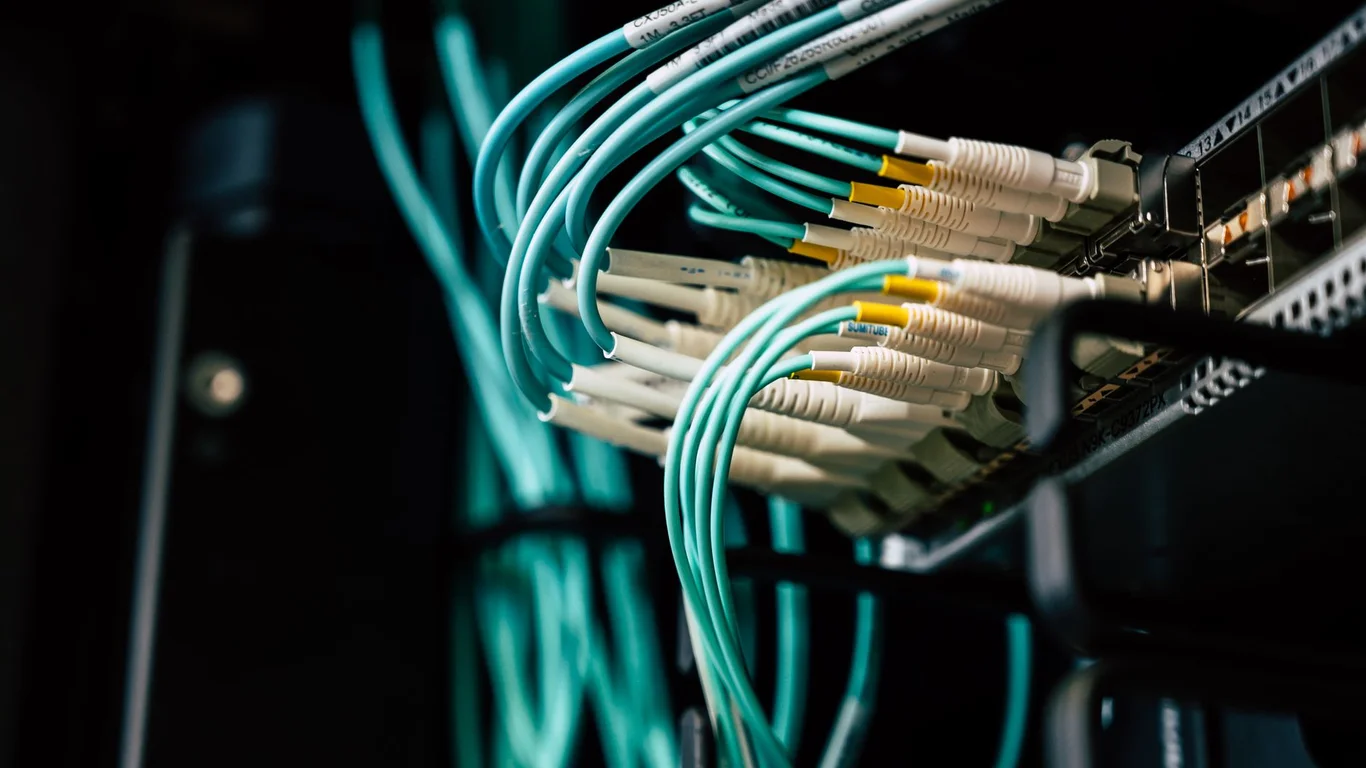
If you’ve outgrown stacking gear on a shelf or desk, moving to a proper rack is the single best upgrade you can make for airflow, cable sanity, and future expansion. This homelab rack build guide covers sizing, noise trade-offs, cable management, and placement so you can build a setup that stays quiet, cool, and easy to maintain — whether you’re starting with a 4U mini rack or a full 24U cabinet.
Rack Unit Sizing: Planning for Current Gear and Future Growth
Rack height is measured in U (rack units), where 1U = 1.75 inches. The most common mistake is buying a rack that barely fits today’s gear, leaving no room for the switch, patch panel, UPS, or that second NAS you’ll want next year.
How to Measure Your Gear’s Total U Height
Start by listing every component. A typical small homelab might include: a 2U NAS (or tower that sits on a shelf), a 1U switch, a 1U patch panel, a 2U UPS, and maybe a 1U mini PC shelf. That’s 7U minimum — before any gap for airflow or cable routing.
Always add 30-50% overhead to your current U count. If you need 8U today, buy at least a 12U rack. The extra space costs little upfront and saves you from buying a second rack later.
Recommended Rack Sizes by Use Case
| Use Case | Recommended Rack Size | Typical Gear |
|---|---|---|
| Single NAS + switch + mini PC | 4U–8U wall-mount | 2U NAS, 1U switch, 1U patch panel, shelf for mini PC |
| Multi-device homelab (NAS, server, UPS) | 12U–18U floor cabinet | 4U server, 2U NAS, 2U UPS, 1U switch, 1U patch panel |
| Full lab with multiple servers, network gear, audio/video | 24U–42U enclosed rack | Multiple 4U servers, 48-port switch, redundant UPS, patch panels |
Open Frame vs Enclosed Rack: Noise and Airflow Trade-Offs
The choice between open-frame and enclosed rack is the most impactful decision for noise and cooling in a homelab rack build. Each has clear trade-offs.
Open Frame Rack (Pros)
- Best airflow — no heat trapped inside
- Lower cost per U ($30–$80 for a 12U)
- Easy access to cables and gear from any side
Open Frame Rack (Cons)
- Louder — fan noise radiates in all directions
- No dust or pet hair protection
- Looks messy unless cable management is perfect
Enclosed Rack (Pros)
- Quieter — acoustic foam and glass doors dampen noise by 5–10 dB
- Contains dust and prevents accidental bumps
- Cleaner appearance for living spaces
Enclosed Rack (Cons)
- Requires active ventilation (fans) to prevent heat buildup
- More expensive ($150–$600 for a 12U–18U)
- Heavier and harder to move
When to Choose Each for a Quiet Homelab Rack
If your rack lives in a basement or garage where noise isn’t an issue, an open frame is cheaper and simpler. For a quiet homelab rack in a living room or bedroom-adjacent space, an enclosed cabinet with acoustic dampening is worth the investment. Even then, plan for exhaust fans — a sealed cabinet with no airflow will cook your drives.
Noise from a rack is dominated by the loudest component, usually a 1U switch fan or a server PSU. An enclosed rack reduces overall noise by about 5–8 dB, but it won’t silence a screaming 40mm fan. If noise is critical, choose gear with larger, quieter fans — 2U or 3U chassis over 1U.
Home Server Rack Setup: Cable Management That Saves Time
Bad cable management turns a 10-minute troubleshooting job into a 2-hour cable tracing nightmare. A good homelab cable management strategy starts with the rack layout, not after everything is plugged in.
Patch Panels and Horizontal Cable Managers
Every network run should terminate at a patch panel, not directly into the switch. A 1U 24-port patch panel costs $20–$40 and makes re-patching a 10-second job. Pair it with a 1U horizontal cable manager (with D-rings or brush grommets) above and below the switch.
Run power cables down one side of the rack, network cables down the other. This prevents interference (minimal with modern gear, but good practice) and makes it obvious which cable is which.
Zip ties are permanent and can damage cables if cinched too tight. Velcro straps let you re-bundle when you add or remove gear. A 100-pack costs $8–$12.
A $20 label maker or even masking tape + sharpie saves hours of tracing. Label the physical cable and the patch panel port. Do this during initial setup, not after problems appear.
Never run power cables parallel and bundled tightly with network cables for more than a few inches. While modern Ethernet is shielded, long parallel runs can still cause crosstalk in high-frequency 10GBase-T links. Keep a 2–3 inch gap.
Placement for Noise-Sensitive Rooms: Where to Put the Rack
Even with a quiet homelab rack, fan noise and drive hum can be annoying in a bedroom or living room. Placement is your cheapest noise reduction tool.
Best Locations Ranked by Noise Tolerance
| Location | Noise Level | Pros | Cons |
|---|---|---|---|
| Basement / utility room | Low | Best for noise and heat; no space constraints | May be far from router; humidity concerns |
| Garage (insulated) | Low–Medium | Ample space; easy cable runs | Temperature swings; dust and pests |
| Closet / under stairs | Medium | Out of sight; moderate noise dampening | Poor airflow without active ventilation |
| Living room corner | High | Easy access; visible status | Noise and heat directly in living space |
| Bedroom | Very High | Convenient for all-night backups | Drive hum and fan noise disturb sleep |
If you must place a rack in a living area, put it on a rubber isolation pad ($15–$30) to decouple vibration from the floor. Also consider a small fan controller to lower fan speeds when the rack isn’t under heavy load — many IPMI systems support this.
Heat Management in Confined Spaces
A typical homelab draws 100–300W, which is equivalent to a small space heater. In a closet or under-stairs enclosure, that heat has nowhere to go. You need at least 100 CFM of active exhaust (a 120mm or 140mm fan) venting to a nearby room or outside. Without it, internal temps can hit 40–50°C (104–122°F), well above safe operating range for spinning drives.
For more on power costs, see our guide on How Much Does It Cost to Run a NAS? Calculate Your Annual Electricity Bill. And if you’re looking to reduce heat output, check out How to Reduce Your NAS’s Power Consumption (Without Losing Performance).
Budget Tiers: From Wall-Mount Mini Rack to Full-Size Enclosed Rack
Your budget determines the rack style and size. Here are three realistic tiers for a homelab rack build.
Tier 1: Wall-Mount Mini Rack ($50–$150)
Best for 2–4 devices (NAS, switch, mini PC). A 4U–8U wall-mount rack mounts to studs and keeps gear off the floor. Great for small apartments or a desk setup. Limited expansion — you’ll outgrow it fast if you add a UPS or second server.
Tier 2: Small Floor Cabinet ($150–$400)
A 12U–18U enclosed cabinet on casters. Fits a tower NAS or 2U server, 1U switch, patch panel, and a small UPS. This is the sweet spot for most homelabbers. You can add a shelf for a mini PC or Docker host. Check out our Best Docker Server Build 2026: Hosting Dozens of Containers at Home for a companion server that fits in 4U.
Tier 3: Full-Size Enclosed Rack ($400–$1,200+)
A 24U–42U rack with glass or solid door, side panels, and integrated cable management. Suitable for multiple servers, 48-port switch, redundant UPS, and patch panels. Often includes casters and leveling feet. Requires dedicated space and possibly a helper to move.
Which Rack Should You Choose?
For most homelabbers with 3–6 devices, a 12U–18U enclosed floor cabinet is the best balance of size, noise dampening, and cost. If your gear lives in a basement or garage where noise isn’t a concern, an open-frame 12U rack saves money and improves airflow. Only go wall-mount if you’re sure you won’t expand beyond 4–6U.
Whichever you choose, invest the time in cable management and placement — it’s the difference between a rack you enjoy working on and one you dread touching. And remember: no rack replaces a backup. See our guide on How to Back Up Your NAS: The 3-2-1 Rule in Practice to protect your data. Also, note that RAID is not a backup; it provides redundancy but does not protect against data loss from accidental deletion or corruption.
Frequently Asked Questions
How many rack units do I need for a small homelab?
A small homelab with one NAS, a switch, a mini PC, and a UPS typically needs 6–8U total. However, you should buy a 12U rack to leave room for a patch panel, cable managers, and future expansion. The extra 4–6U costs only $30–$50 more upfront and saves you from buying a second rack later.
Is an enclosed rack quieter than open-frame?
Yes, an enclosed rack with acoustic foam and a glass or solid door reduces noise by roughly 5–10 dB compared to an open-frame rack. However, the loudest component in your rack (often a 1U switch fan or server PSU) still dominates. For significant noise reduction, choose gear with larger 40mm or 60mm fans over 1U high-speed fans.
Where should I put a rack in noise-sensitive spaces?
For a bedroom or living room, place the rack in a closet or under stairs with active ventilation (at least 100 CFM exhaust). Use a rubber isolation pad to decouple vibration from the floor. If the rack must be in the same room, an enclosed cabinet with acoustic dampening is essential, and you may need to relocate the loudest component (like a switch) to a separate closet.
How much should I budget for a first homelab rack?
For a first homelab rack, budget $150–$400 for a 12U–18U enclosed floor cabinet, plus $50–$100 for accessories (power strip, Velcro ties, patch cables, label maker). If you’re on a tight budget, a wall-mount 4U–8U open-frame rack costs $50–$150. Always prioritize buying a slightly larger rack than you think you need.
Last verified: July 10, 2026. Rack sizing and noise data cross-checked against manufacturer specifications and community builds on /r/homelab.
🛡 Shop Recommended Hardware
Prices and stock verified regularly by our affiliate partners. As an affiliate, HomeLabCost may earn a commission on qualifying purchases at no extra cost to you.
Browse Hardware Picks →
homelabcost
HomeLabCost editor covering NAS builds, hardware selection, and homelab server setup guides.