
Best Home Assistant Server Build 2026: Reliable Smart Home Hub Hardware
 9 min read
1,751 words
9 min read
1,751 words
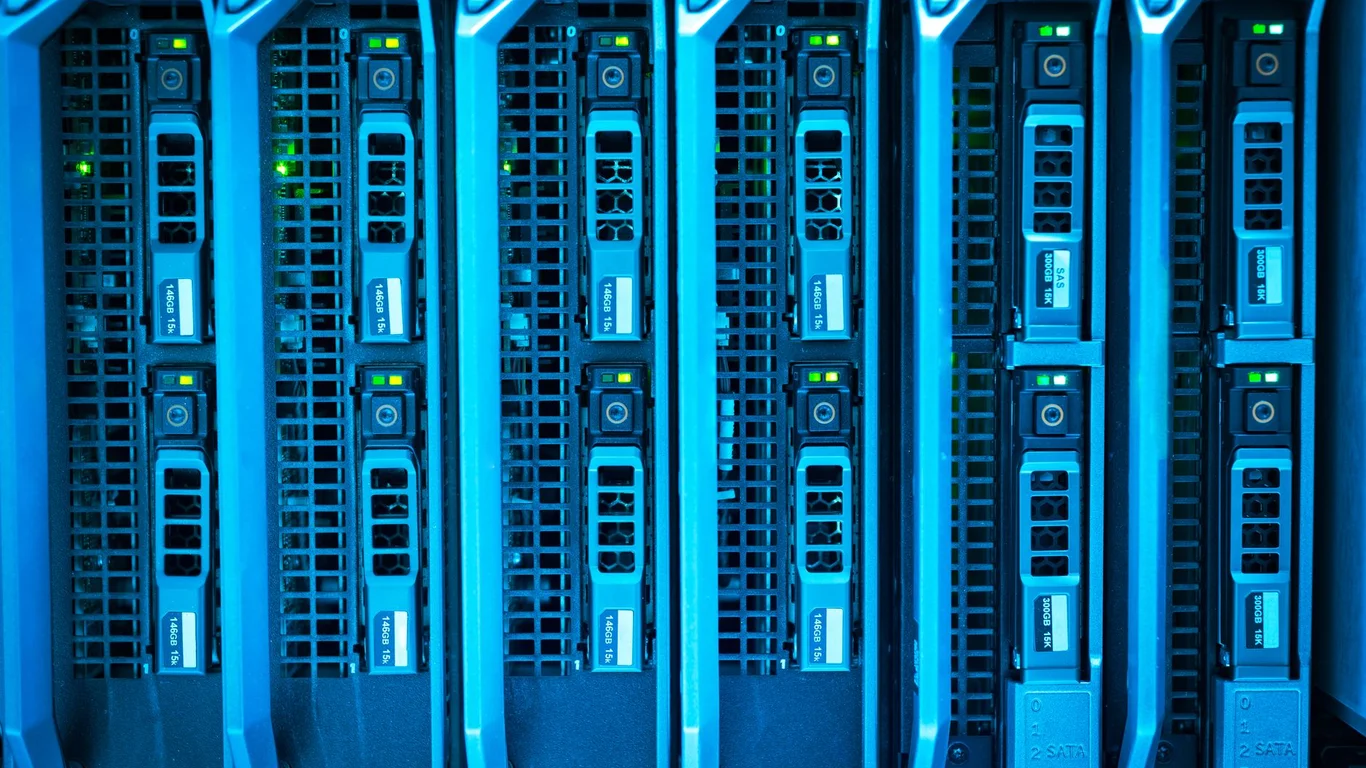
Home Assistant doesn’t need a powerful CPU or a massive amount of RAM. Unlike a media server that transcodes 4K video or a machine learning rig, Home Assistant primarily processes events — a motion sensor triggers a light, a thermostat reports temperature, a door lock changes state. These are tiny, lightweight operations. A modern single-board computer or a low-power mini PC handles them effortlessly.
Tip:
The biggest factor in Home Assistant hardware is not raw performance — it’s reliability. A smart home that goes offline when you’re away isn’t smart at all. Prioritize stable storage, a reliable power source, and a platform that handles updates gracefully.
Home Assistant Hardware Requirements: What You Actually Need
Home Assistant OS itself runs well on 1 GB of RAM and a dual-core ARM or x86 processor. The official minimums are 2 GB of RAM and 32 GB of storage, but real-world usage varies. A basic setup with a few dozen devices uses about 500 MB to 1 GB of RAM. Add a few integrations, dashboards, and add-ons (like Zigbee2MQTT or Node-RED), and you’ll want 4 GB of RAM to stay comfortable.
Storage is where many Home Assistant builds go wrong. The system writes to its database constantly — every state change from every sensor gets logged. On an SD card, this can kill the card in months. A quality SSD (even a small 120 GB SATA drive) is far more durable and reliable.
💾 Expert Note:
Home Assistant’s recorder database is the primary source of storage wear. If you run on an SD card, consider using the “recorder: purge_keep_days: 7” configuration to limit database size, or move the database to an external MySQL/MariaDB instance on an SSD. This alone can extend SD card life from 6 months to 2+ years.
Raspberry Pi vs Mini PC vs NAS-Hosted VM: The Three Paths
There are three common ways to run Home Assistant, and each has clear trade-offs. Here’s how they compare:
| Platform | Starting Cost | Idle Power | Reliability | Best For |
|---|---|---|---|---|
| Raspberry Pi 4/5 | $55-$80 | 3-6W | Medium (SD card failure risk) | Low-cost, simple setups |
| Mini PC (N100/N150) | $150-$250 | 6-10W | High (SSD, passive cooling options) | Reliable always-on hubs |
| NAS VM (TrueNAS/Unraid) | $0-$50 (add-on) | 5-15W (added) | Very High (RAID, enterprise SSDs) | Homelab with existing NAS |
Home Assistant Raspberry Pi vs NAS: Which Is Right for You?
The Raspberry Pi is the cheapest entry point, but it has a serious weakness: SD card corruption. Home Assistant writes constantly, and SD cards have limited write endurance. A Pi 5 with an NVMe HAT and an M.2 SSD solves this but pushes the cost toward a mini PC. If you already have a NAS, running Home Assistant as a VM or container there is often the best move — you get enterprise storage, backups, and no extra hardware to manage.
Raspberry Pi Good Fit
- Budget under $100 for the whole build
- Simple setup with few add-ons
- Lowest power draw (3-5W)
Raspberry Pi Bad Fit
- Running many camera streams or heavy dashboards
- Need rock-solid uptime without SD card risk
- Already have a NAS or server running 24/7
Home Assistant Mini PC: The Sweet Spot for Reliability
A mini PC with an Intel N100 or N150 processor is the best home assistant server for most people. These machines idle at 6-10W, cost $150-$250, and support M.2 NVMe SSDs. They have no moving parts, passive cooling options, and can run Home Assistant OS directly or as a Proxmox VM. The extra $100 over a Pi buys you years of reliability without SD card anxiety.
Storage and SSD Wear: Why Your Database Is the Enemy
Home Assistant’s recorder database logs every state change from every entity. If you have 200 sensors reporting every 30 seconds, that’s nearly 600,000 database writes per day. On an SD card rated for 10,000-100,000 program/erase cycles, this can cause failure in 6-12 months. An SSD rated for 150 TBW (terabytes written) will last decades under this load.
- Use a 120-240 GB SATA or NVMe SSD for the Home Assistant OS drive
- Never run Home Assistant’s database on an SD card long-term
- Consider an external database (MariaDB/PostgreSQL) on your NAS if you have one
- Set database purge intervals to keep the recorder lean
Power Draw and Always-On Reliability
Home Assistant runs 24/7/365. Every watt of power draw adds to your electric bill and generates heat. A mini PC at 8W idle costs about $8.50 per year at $0.12/kWh. A full desktop at 60W idle costs $63 per year. That difference adds up fast when the system runs for 5+ years.
For tips on reducing power consumption across your entire homelab, see our guide on how to reduce your NAS’s power consumption. Many of the same principles apply — use SSDs instead of spinning drives, disable unnecessary peripherals, and choose a power-efficient power supply.
Running Home Assistant as a VM or Container Alongside Other Services
If you already run a NAS or homelab server, adding Home Assistant as a VM or container is efficient. Proxmox, TrueNAS Scale, and Unraid all support running Home Assistant OS as a VM. This gives you:
- Shared storage across your existing drives (with RAID protection)
- Automatic backups via your NAS’s snapshot system
- No extra hardware to power or maintain
- Easy resource allocation (2-4 GB RAM, 2 cores is plenty)
Good to Know:
Running Home Assistant on a NAS VM adds 5-15W to your NAS’s power draw, depending on CPU load and storage configuration. Compare this to a dedicated mini PC at 8W — the difference is small enough that using an existing NAS is often the better choice if you already have one.
For NAS operating system choices, our TrueNAS vs Unraid comparison can help you decide which platform to build your homelab on. Both support Home Assistant VMs well.
Backup and Redundancy for a System Controlling Physical Devices
Home Assistant controls your lights, locks, thermostat, and maybe even your garage door. If it goes down and you can’t manually override everything, you have a problem. RAID protects against drive failure, but it does not protect against database corruption, accidental configuration changes, or ransomware. You need actual backups.
- Use Home Assistant’s built-in backup feature (Settings → System → Backups)
- Store backups on a separate device (your NAS, cloud storage, or a USB drive)
- Test a restore at least once — a backup you can’t restore is worthless
- Snapshot your VM regularly if running on Proxmox or TrueNAS
Warning:
RAID is not a backup. If your Home Assistant database gets corrupted by a faulty integration or if you accidentally delete your automations, RAID will replicate the corruption to all drives. Always maintain separate, versioned backups.
Which Should You Choose: Best Home Assistant Server Build 2026
For most smart home enthusiasts, the best home assistant server is a mini PC with an Intel N100 or N150 processor, 8 GB of RAM, and a 256 GB NVMe SSD. This build costs around $200-$250, idles at 8W, and will run Home Assistant reliably for years without SD card worries. It supports USB Zigbee/ Z-Wave dongles, runs Home Assistant OS natively, and can be expanded with additional services later.
If you already have a NAS running 24/7, run Home Assistant as a VM there instead. You’ll save the hardware cost and gain enterprise-grade storage redundancy. If you’re on a tight budget and willing to manage SD card risk, a Raspberry Pi 5 with an NVMe HAT is a viable starter build — just budget for an SSD upgrade when the SD card eventually fails.
For storage sizing guidance, see our practical storage sizing guide. For CPU selection in a NAS that also hosts Home Assistant, check our best CPU for TrueNAS guide. And if you’re building a media server alongside your smart home hub, our best Plex server build guide covers the hardware you’ll need for that workload.
Frequently Asked Questions
Do I need a powerful CPU for Home Assistant?
No, you do not need a powerful CPU for Home Assistant. The system primarily processes lightweight events from sensors and automations — a dual-core ARM or x86 processor at 1.5-2.0 GHz is sufficient for most setups. Even with 50-100 devices and several add-ons, an Intel N100 or Raspberry Pi 5 handles the load easily. CPU bottlenecks only appear if you run heavy add-ons like Frigate (NVR with object detection) or multiple camera streams with AI processing.
Is a Raspberry Pi enough to run Home Assistant?
Yes, a Raspberry Pi 4 or 5 is enough to run Home Assistant for a typical smart home with 20-50 devices, basic automations, and a few dashboards. The Pi 5 with 4 GB of RAM handles this well. However, the SD card is a known weak point — Home Assistant’s constant database writes can kill an SD card in 6-12 months. Using an NVMe HAT with an M.2 SSD on a Pi 5 solves this but adds $30-$50 to the cost, making a mini PC a more reliable choice for similar money.
Should Home Assistant run on the same box as Plex?
You can run Home Assistant and Plex on the same server, but consider the risks. Plex transcoding can spike CPU usage to 80-100% for minutes at a time, which may cause Home Assistant to become unresponsive during those periods. If you have a powerful CPU (Intel i5 or better) and allocate enough RAM, it works fine. For a dedicated smart home hub, a separate mini PC at 8W idle is safer and keeps your home automation independent of media server reboots or transcoding spikes.
Why does Home Assistant wear out SD cards?
Home Assistant wears out SD cards because its recorder database writes to storage constantly. Every state change from every sensor — temperature readings, motion detections, switch toggles — gets logged to a SQLite database. With 100 sensors reporting every 30 seconds, that’s 288,000 writes per day. SD cards have a limited number of program/erase cycles (typically 10,000-100,000 per cell), so they fail after 6-18 months under this load. SSDs have much higher write endurance (50-150 TBW for a 120 GB drive) and handle this workload for decades.
📋 Sources & Last Verified:
Last verified: July 09, 2026. Specifications cross-checked against Home Assistant official documentation, Raspberry Pi Foundation datasheets, and Intel ARK product specifications where available.
🛡 Shop Recommended Hardware
Prices and stock verified regularly by our affiliate partners. As an affiliate, HomeLabCost may earn a commission on qualifying purchases at no extra cost to you.
Browse Hardware Picks →
homelabcost
HomeLabCost editor covering NAS builds, hardware selection, and homelab server setup guides.